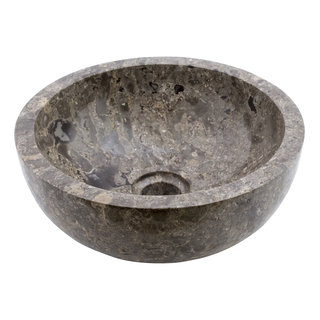
Washbasins

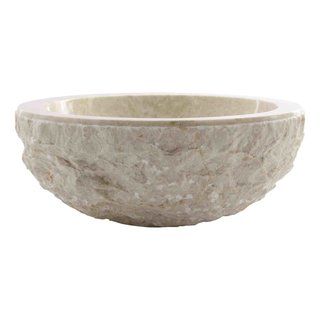
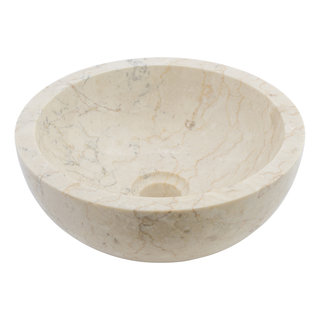
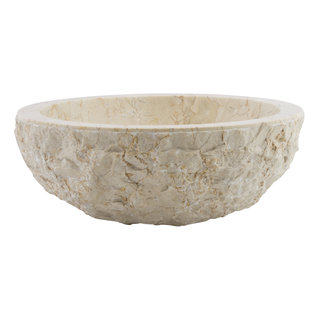
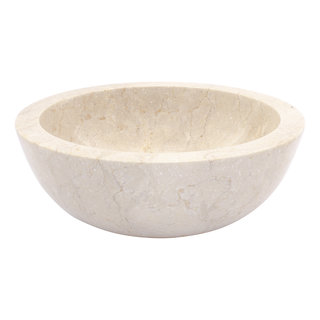
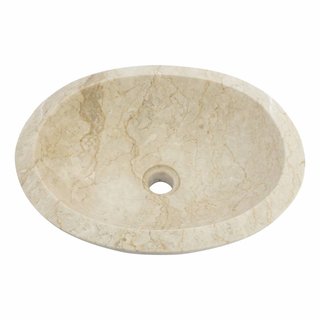
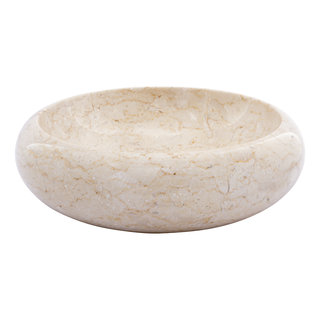
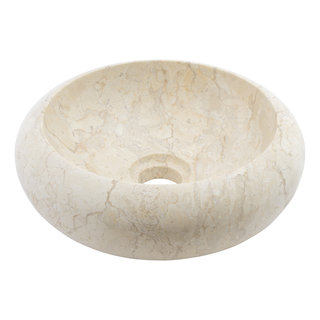
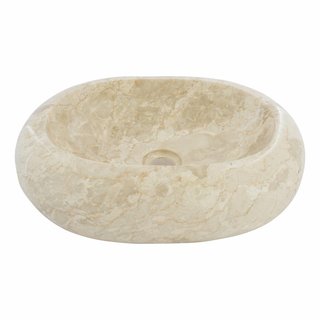
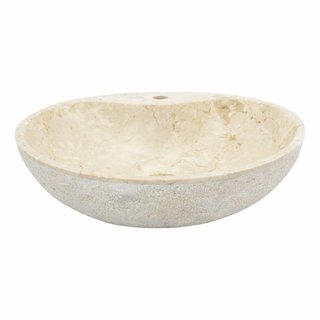
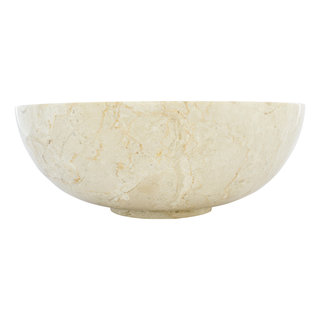
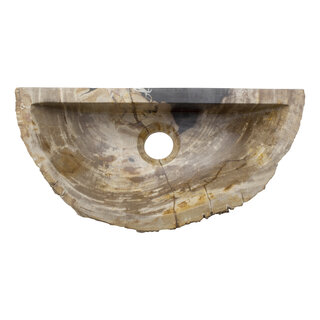
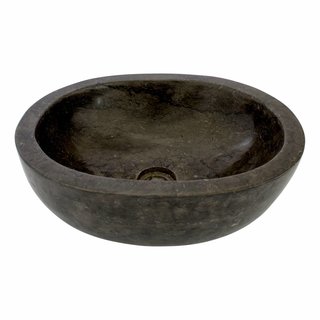
Washbasins in various sizes and versions made of River Stone, Marble, Onyx, and Petrified Wood. A sink made of natural stone stands for luxury, elegance and splendor. With good maintenance you can permanently enjoy one of our washbasins or wash basins of river stone, marble, onyx, petrified wood, green sandstone or any other natural stone that will come in the future. We personally select our washbasins for you so that we can offer this beautiful selection at attractive prices. We will explain to you below how you can install a sink or wash bowl of natural stone yourself. You can also purchase bathroom furniture that already has a hole for the drain. Then you obviously do not have to follow all of the steps below.
How to install your washbasin yourself.
- Place the wash bowl on your bathroom furniture and mark the round in the drain hole with a pencil. Next, determine exactly where the wash bowl should be by measuring the exact center (or any other place you had in mind) with a measuring tape from all sides of the wash cabinet.
- Then drill a small hole of about 3 mm in the exact center of the place where the drain hole of your stone wash basin should come.
- Then you take a drill to make holes. The centering drill should be about 5 mm and the round blade should have a diameter of 5 cm. This makes the hole more than large enough to pierce the siphon and attach it to your wash basin. You then even have some space left to move your washbasin a few millimeters if necessary.
- You can possibly finish the hole with some sandpaper but that is not really necessary. Of course you will have to go through the same steps for the hole where the crane should be.
- Make sure the furniture is cleaned on the spot where you want to place the wash basin. Clean it with soap and water to remove any grease. Do the same with the bottom of the wash bowl. Then let both dry thoroughly.
- Place the sink / wash bowl with the bottom upwards on a cloth (to prevent damage) and syringe it in stripes with acid-free (very important) natural stone kit. This is easy to obtain in every DIY store and is usually transparent. Make sure you do not spray the sealant too thick layers of 3 mm are more than good enough.
- Then syringe a continuous layer along the entire outer edge of the bottom of your sink at about 3 mm from the edge. This layer must also be about 3 mm in size.
- Then lift up the wash basin or washbasin (if necessary with 2 people for the heavier models) and carefully place it in the right place on your cabinet so that the hole in your washbasin and the drain hole of your wash basin are properly connected. You can already assemble the siphon if necessary.
- Push the wash bowl firmly in place for a few minutes. This will ensure that the kit on the bottom is nicely spread over the entire surface.
- The kit that you have applied in step 7 will, if you have done everything right, come out a little below the edge. This means that no water (and therefore dirt) can come under your beautiful sink. With a round basin you do not have to do anything further here and the installation is ready.
- With rectangular washbasins or wash bowls with a slight rounding, you will have to finish the kit edge that comes out under the sink. You do this by putting your finger in a container with soap and water and by brushing it in a smooth motion. This way you get rid of the surplus kit and you get a nice result.
- Finally, impregnate the wash bowl so that it has a fresh impregnation layer and no water or dirt can penetrate it.
If you run into problems, you can always contact us so that we can assist you with personal advice.


